
I am here to beg of you to begin a life long journey with a sourdough starter or at least try a summer romance. Try it on for size and if you feel that you aren’t made for one another – it’s me not you sort of deal – then you can end the relationship at any point along the route without guilt or remorse or awkward conversation. Into the trash it can go. Adiós! Au revoir! Sees ya later! I have a hankering though that once you get a few weeks under your belt apron and get comfortable with your yeasty friend…it’s gonna be a long, successful, and tasty relationship.
So how the heck does one get a sourdough starter? There are a million (or three) ways to skin this cat! – 1 – start one from scratch (the route I chose because I enjoy the long way around), 2– beg (but it will be given over willingly) a friend, an aunt, or your best friends first cousins sister has to have one living in their fridge, or 3– we live in the days where you can purchase a bit online.
How the heck do we keep it alive? Do we have to feed it? Yes, there is upkeep to these little living and breathing bubbling messes but it requires less upkeep than those other living breathing bubbling messes we call kids and pets plus they can handle a bit of neglect without a visit from social services. And if you go off and kill it ( ha! good luck!) no worries, it is only yeast and I don’t believe it will be considered a sin on your final judgement day. All you do, once you are at the mature stage, is once a week (or every 2 to 3 which has been my neglectful ways lately) you remove half of your starter (that’s what we will be baking with) and then stir in equal parts (by weight) of flour and water to the remaining lot. The amount depending on how large or small you want your yeasty friend to be.
Good news though…when you remember to feed your new friend you will have the opportunity to make a bit of bread or cinnamon rolls or waffles or or or ….. Today I bring you the bread! You might be saying but I haven’t the time to bake bread...and I say hogwash. A bit of planning ahead will make all the difference as rise times and proof times can be slowed and stretched as you deem necessary as bread dough is a bit more forgiving than I think it gets credit for.
Resources I have used for my sourdough starter and bread include but not limited to – The Kitchn ( I return again and again not only for sourdough questions but for really any kitchen inquiry – they have tried and tested most things decreasing the time and money I spend experimenting.) King Arthur Flour ( a great reference for recipes that utilize sourdough starter) OH! and this Cinnamon Roll Recipe – GAH!
Now that I have convinced you to start and nourish a sourdough starter…let’s get baking with it.
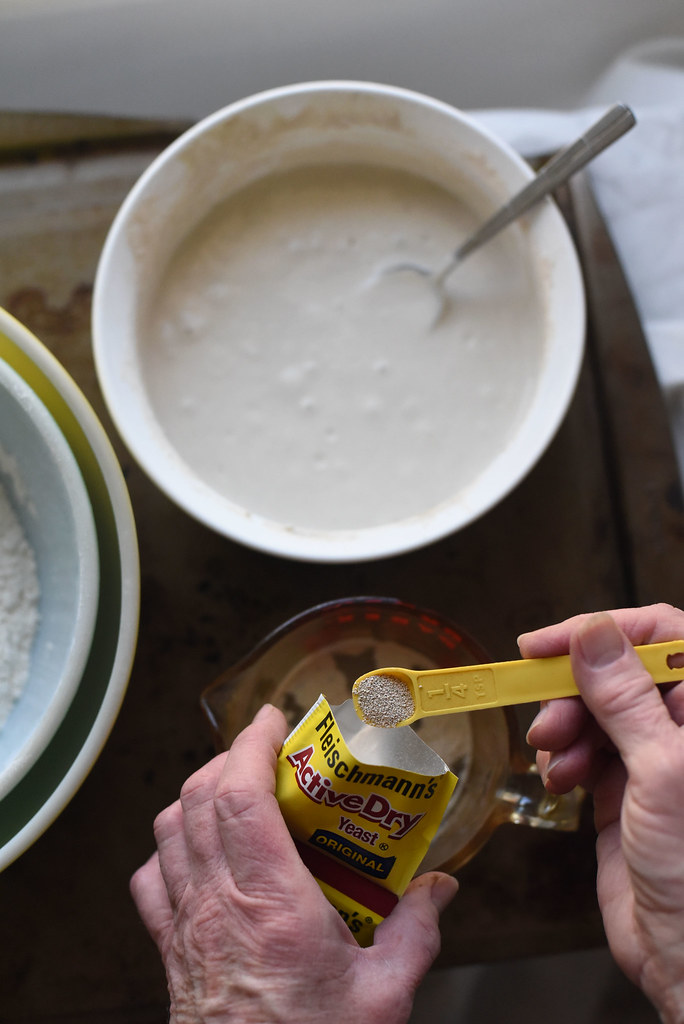
Since we are making a quicker sandwich loaf than say an artisan loaf of sourdough…we are gonna need a bit of help in the leavening department. Enter active dry yeast. Just 3/4 of a teaspoon is all the help our starter will need to get this bread a rising. If a full on artisan sourdough is what you are looking for – NYT Cooking and Tartine’s Bakery have you covered.
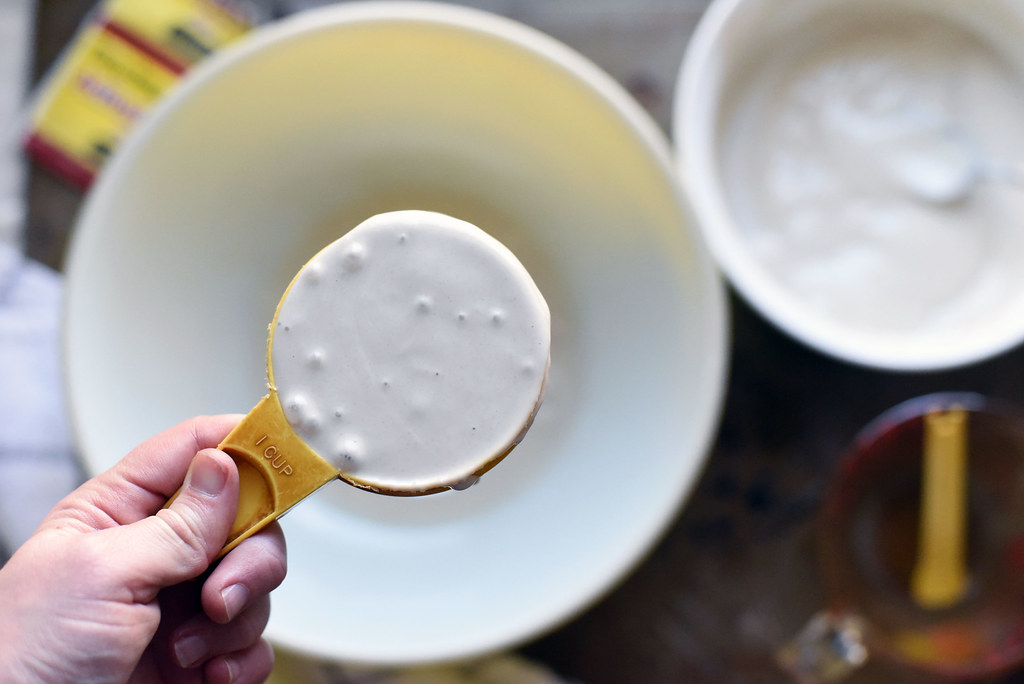
Yeast is so gassy…just look at all those fart bubbles! When I see those, I am overjoyed as I know my neglectful ways lately have not killed my yeasty friend. 1 cup (8 ounces) of sourdough starter – which is exactly half of my starter -( if you haven’t a full cup of starter, make up the difference with equal parts water and flour by weight) – 1 cup gets stirred and dissolved into the yeasty water. Like so…

Stir until mostly dissolved. Flour and salt on deck…
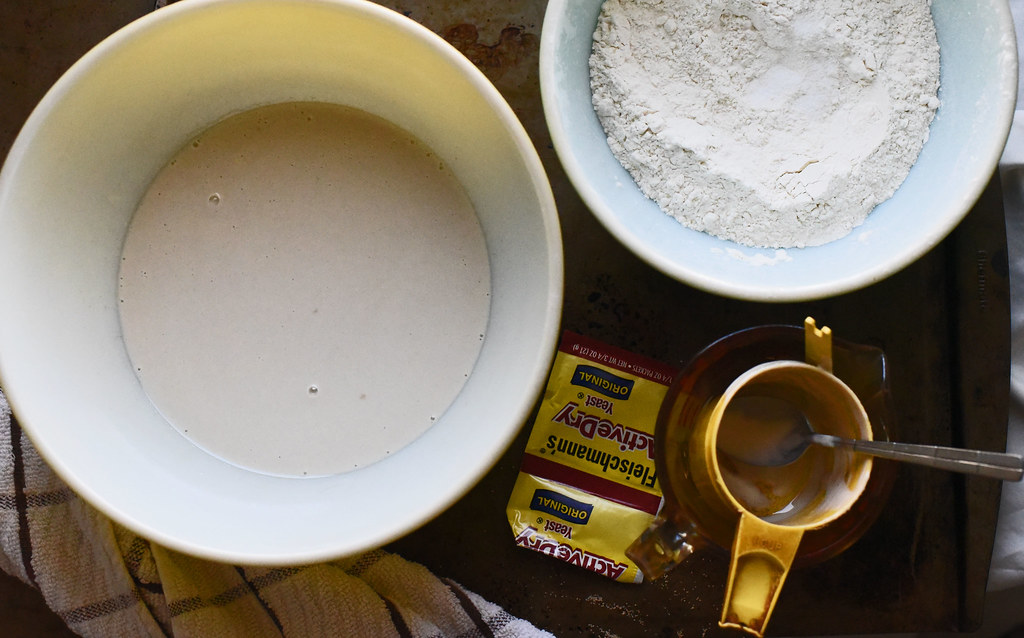
Have the flour and salt weighed/measured out before hand to make life a bit easier. You may need more flour when you start kneading, so keep a few tablespoons extra at the ready near by.
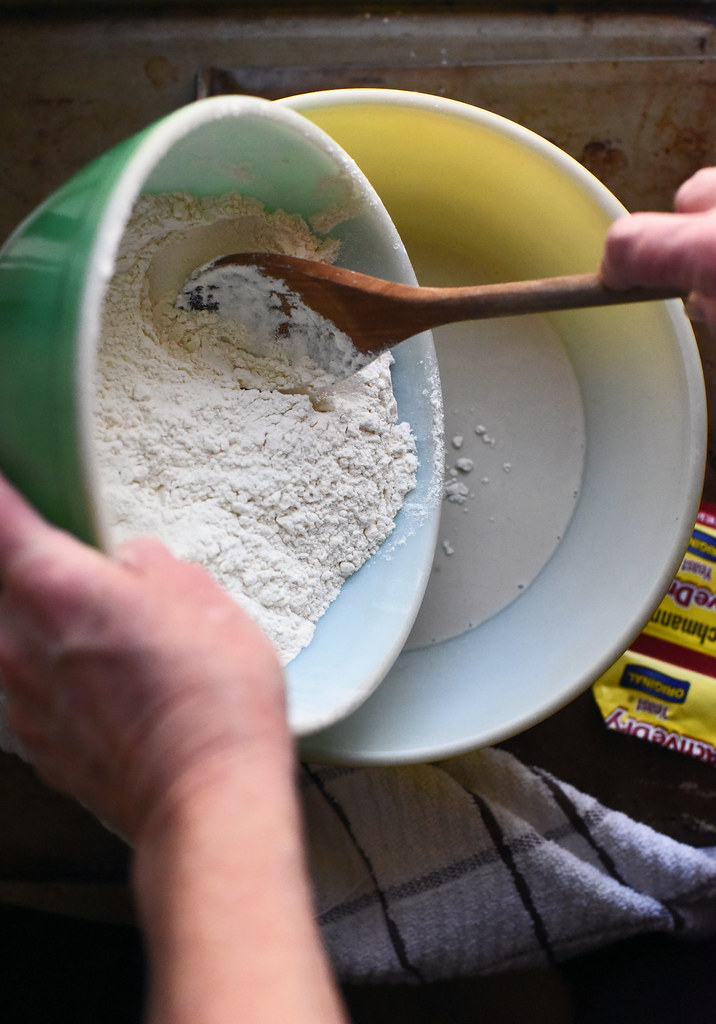
In goes the flour
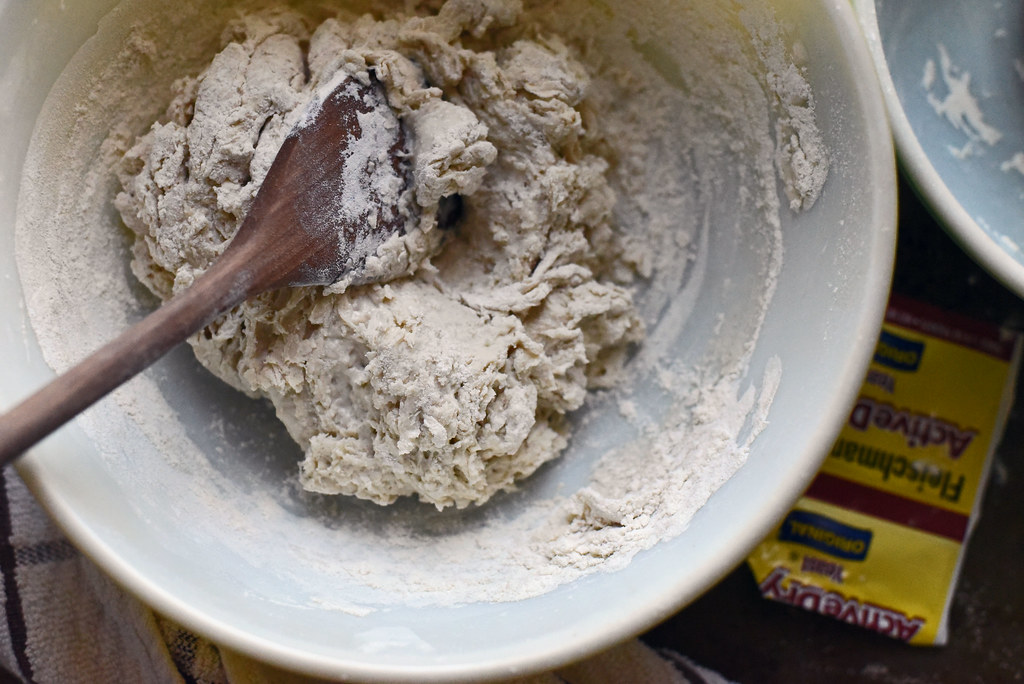
And commence stirring – just until a shaggy dough forms. Once this happens, turn the dough out onto a lightly floured surface and begin kneading. I prefer kneading by hand but you can use a stand mixer with a dough hook attachment. Knead dough until…
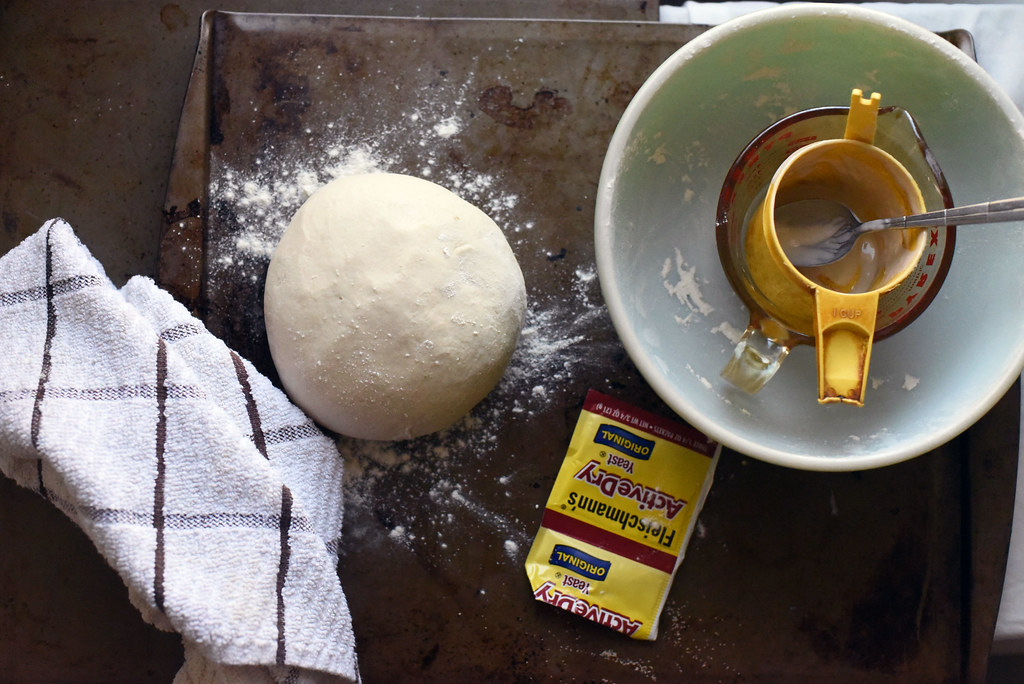
A soft and supple ball of dough is formed. It will be just slightly sticky to the touch, bounce back when gently poked, and hold its shape. When kneading, you may find it necessary to add flour as the dough may become sticky like bubblegum. Add just by the tablespoon and only when necessary until a dough ball similar to that described develops. Depending on your starter, the weather, the time of year – the amount of flour needed will vary. The total kneading time will be about 8 to 10 minutes.
Turn it out into a lightly greased bowl ( cooking spray works like a charm) and cover with a moist tea towel or kitchen towel. Place in a warm spot in your house – for me this has been the microwave or oven with the light on, in my bedroom with the space heater on low nearby ( the house had terrible drafts), or in the laundry room atop the dryer. Wherever works. Just warm, not hot. If it is cool, it will rise but the time to rise will be longer as the yeast get lethargic (much like me in a cold environment).
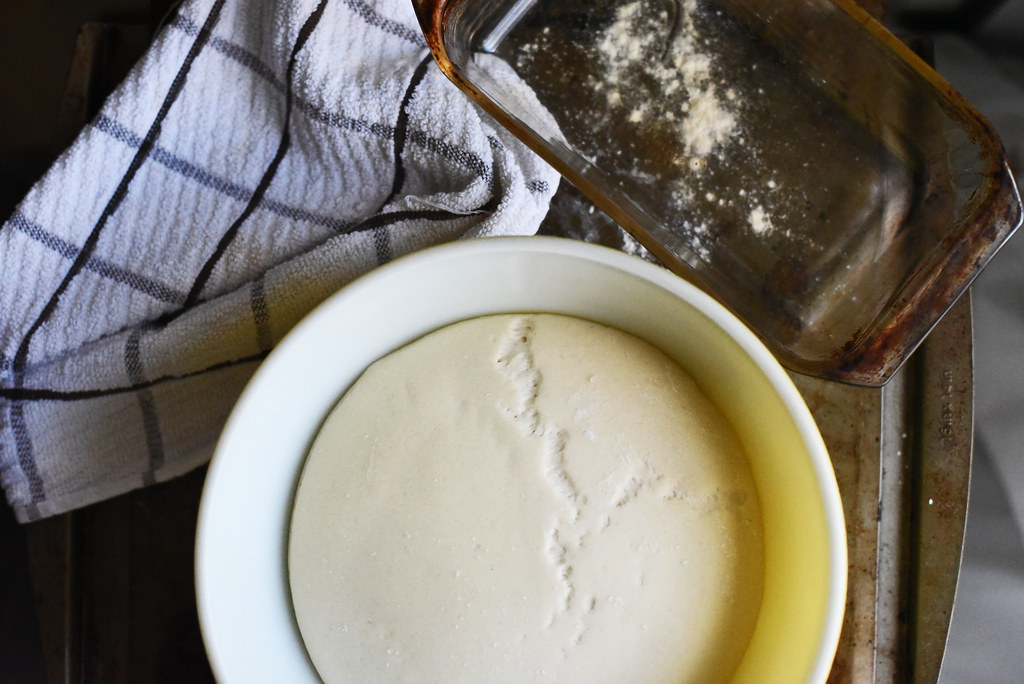
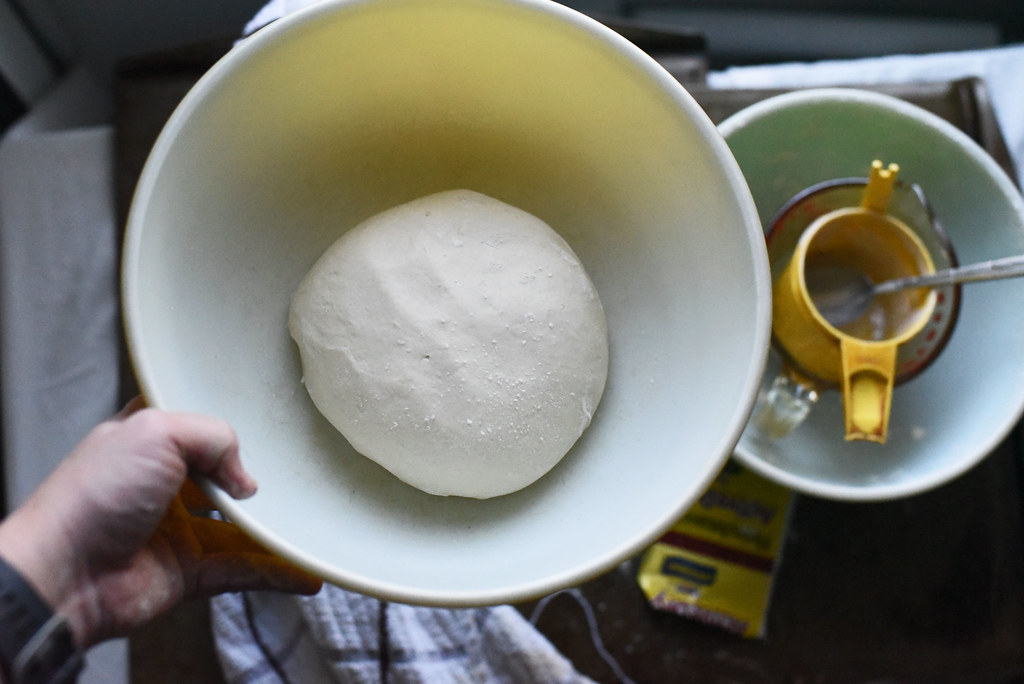
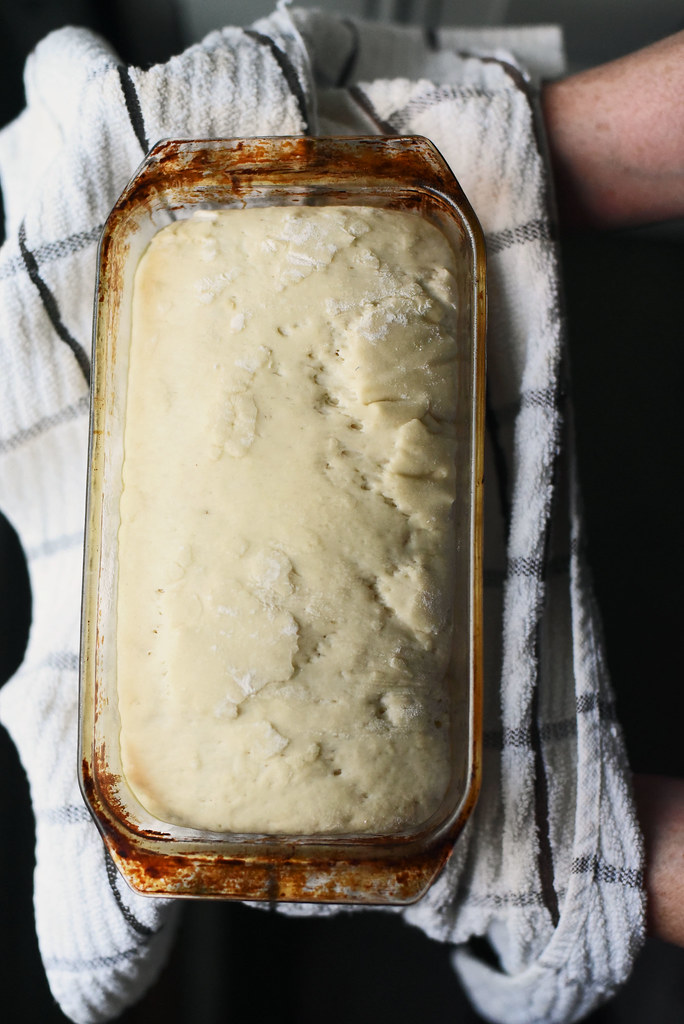
Let it rise until it has doubled in size. A beaker would be helpful in this measurement … or a huge measuring cup if you have the need to be 110% accurate. I guesstimate while keeping an eye on the time – about 2 hours in a warm spot will get you close to double. Add some time to this if you haven’t a warm spot in your home ( i.e. the light is out in your microwave). Also, to avoid a crusty top (like the one I have above) covering with a moist tea towel is key!
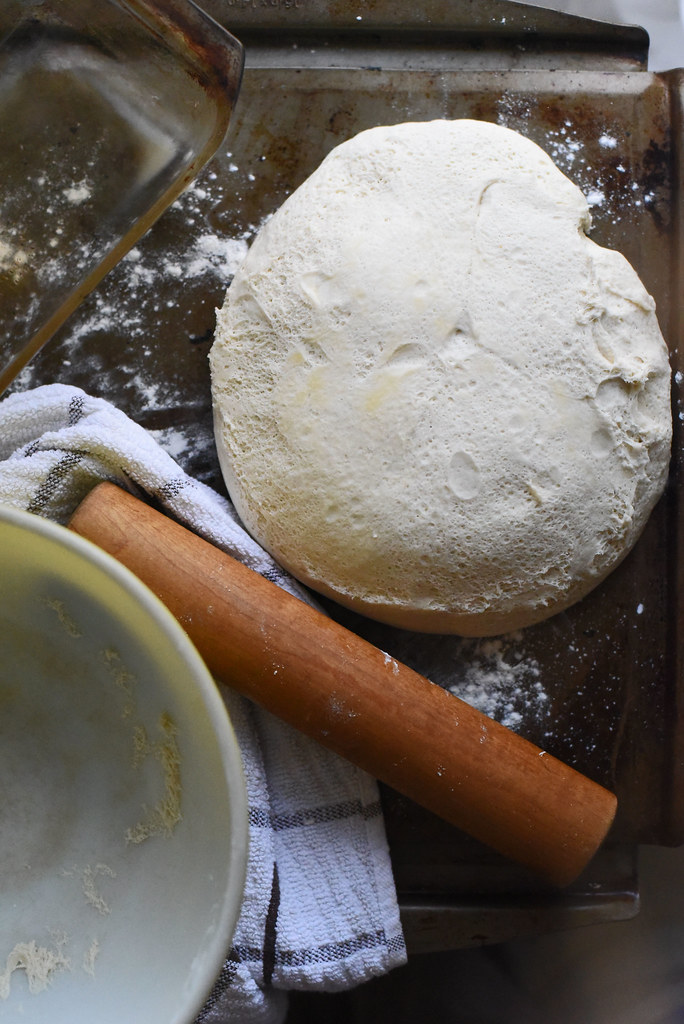
Dump it. Onto a lightly floured surface. Time to deflate.

Roll it out into a rough rectangle (about 12 x 8inches) – use your loaf pan as a gage to how wide to roll it out. My rolling pin is about 12 inches long for reference.
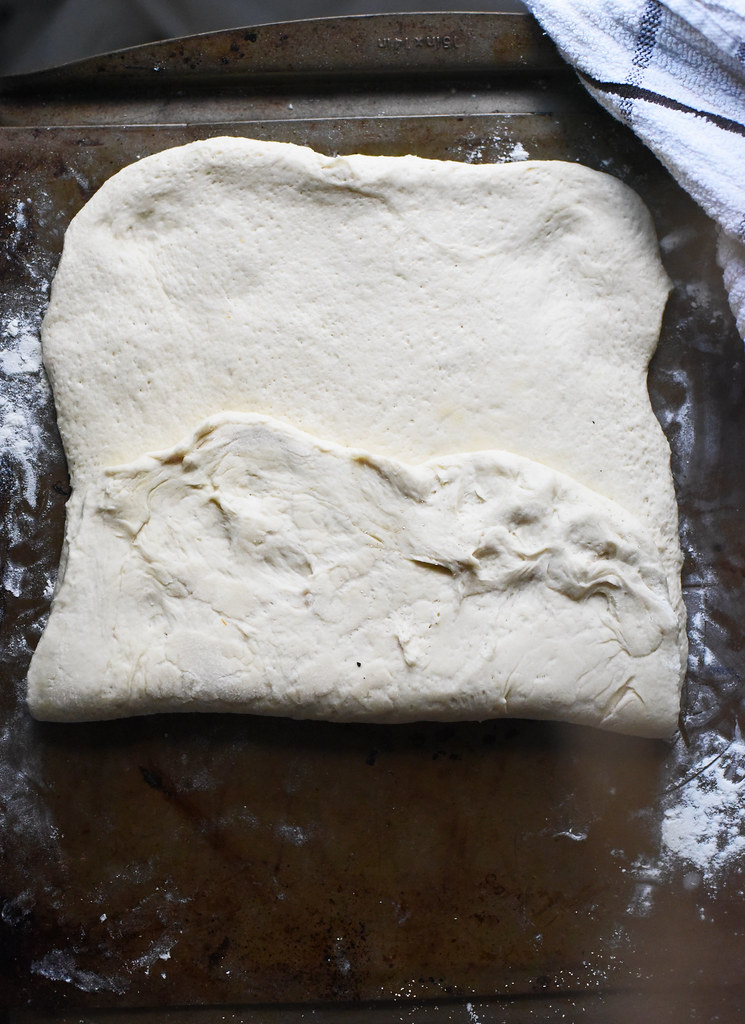
Letter folding is much like bread folding. Or is the other way around?
Fold the bottom up…

Fold the top down …

Not pictured is the next fold…gonna fold this sucker in half again lengthwise. It’ll feel a bit like keeping a cat in a bag but fold and pinch together the edges as you go – like zipping up a coat over 10 layers of clothing – stuff, zip, stuff, zip…
Pinch the ends shut, too!
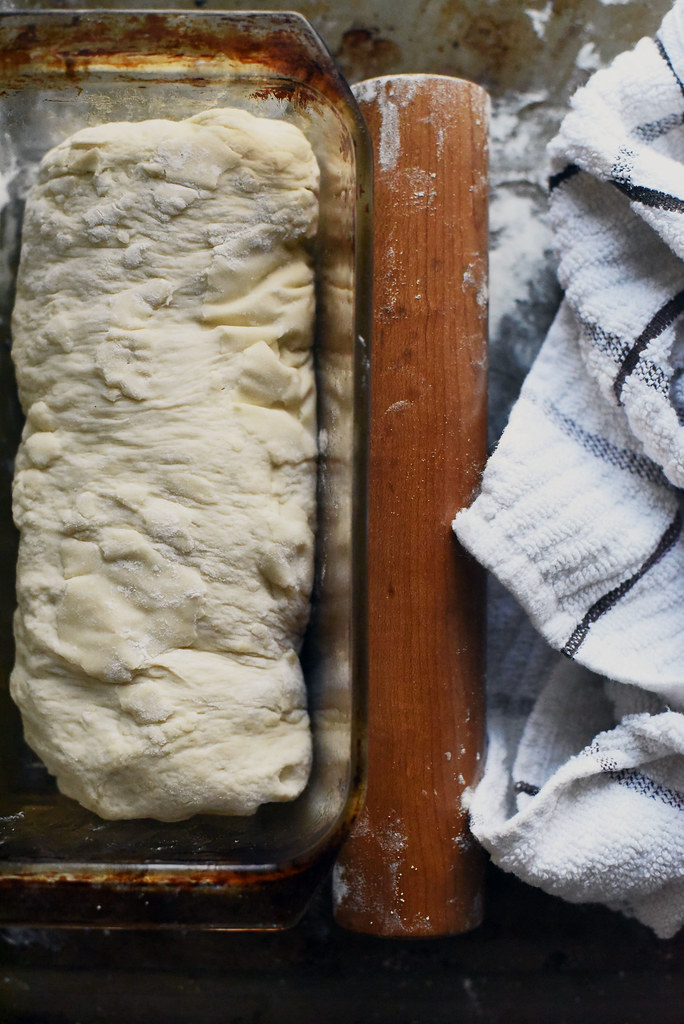
Place seam side down into a lightly greased loaf pan. (this is also my meatloaf pan if anyone was wondering)
You know that warm spot where the first rise took place…we are heading back there for the second rise. But but but…if you need to leave the house or go to bed or head to work or live life and you haven’t the ability to let this rise for another 1.5 – 2 hours before baking…STICK IT IN THE FRIDGE! It will rise in there slowly at its and your leisure and will be ready when you return home from ya know, living. If you choose this route just remove it from the fridge for about 20-30 minutes to reach room temperature before baking.
Let it rise until it the dough reaches the top edge of the loaf pan. It’ll be slightly domed so the middle may be higher than the edges. Preheat that oven to hot. Or 450F.
Trick to a crusty crust…place an oven proof cup or bowl filled about half way with water in the oven on the rack below the bread. This will create steam which will help dissolve surface sugars that will eventually crystalize as the steam evaporates and the bread continues to bake. It’s freaking science and I love it.
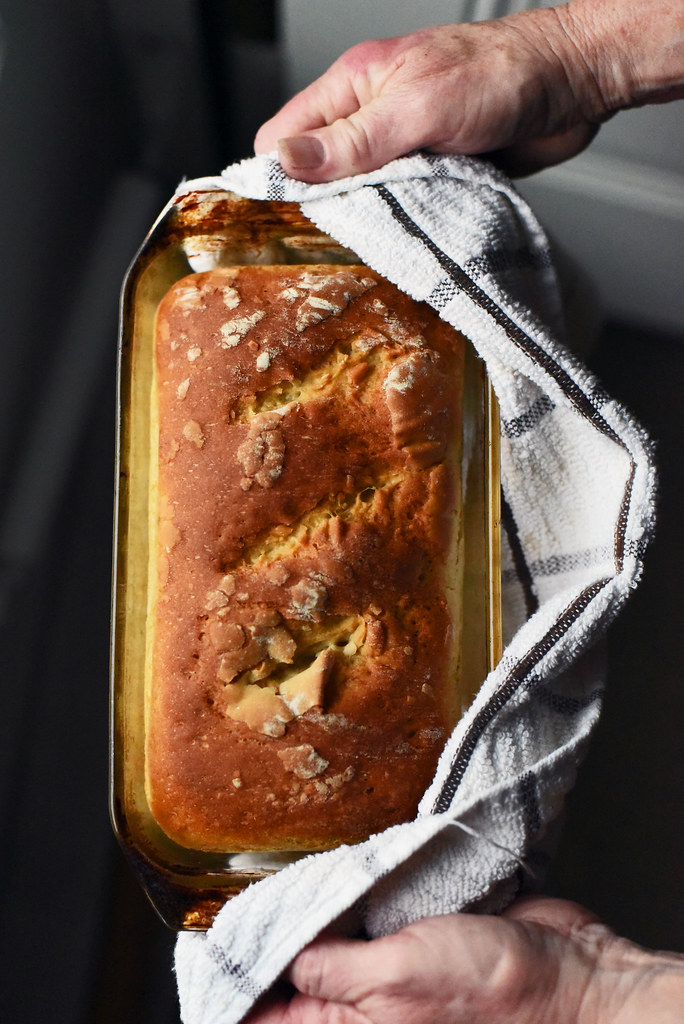
Bake until golden brown. A true test of doneness is when the bread is turned over and lightly tapped on the bottom, if it sounds hollow, you have yourself a winner.
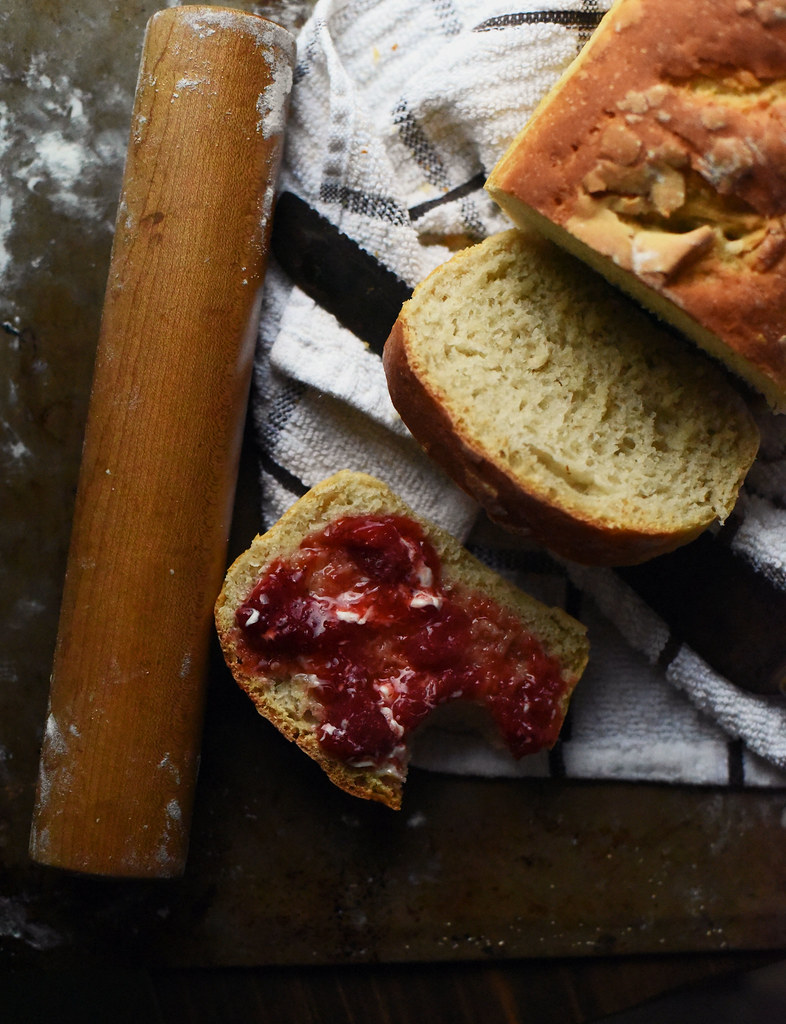
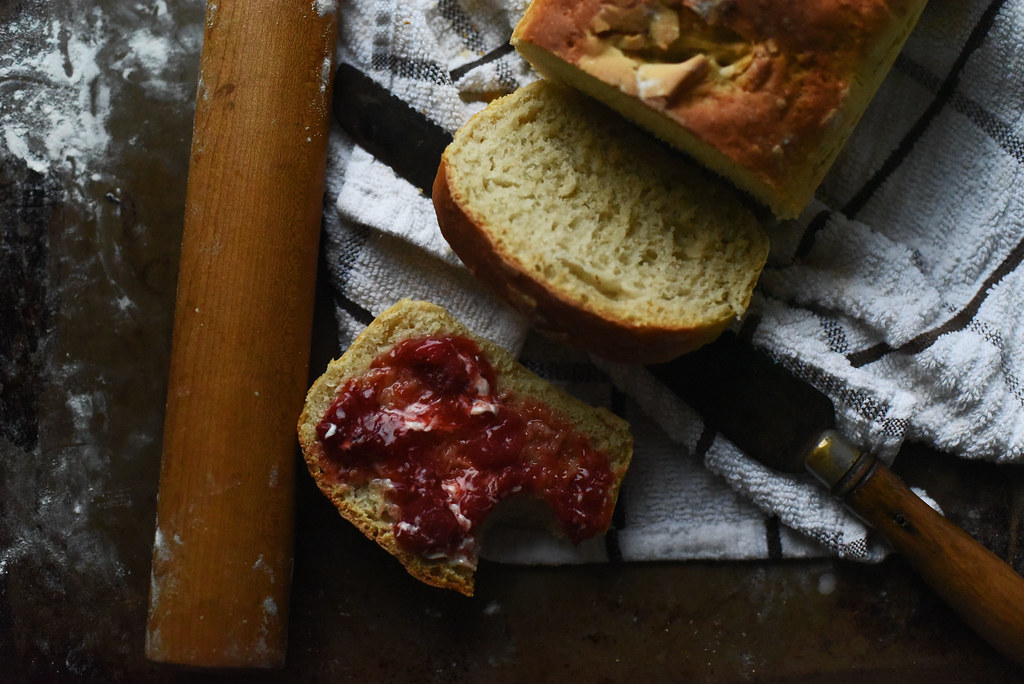
Slide bread from pan and let cool on wire rack … OR slice it as quickly as it comes out of the oven, slather it with butter, and fresh strawberry jam, and devour.
This loaf of bread I have made a dozen times and I find it best straight from the oven or toasted. It becomes another beast all together when it emerges from a toaster or from the undersides of a broiler. Crunchy yet chewy and depending on the age of your starter, a bit tangy.
I want to set expectations properly and perhaps I should have stated this earlier. This is not an artisan loaf of sourdough and therefore please do not expect the tanginess or chew one obtains from a beast of that nature. It will have a hint of its sour/tangy sibling but it is a bit more reserved than its loud mouth brother. However, the age of your starter and length between feedings will increase that sought out sourness.
May your house smell like fresh baked bread in the coming days!
- 5 ounces warm water
- 3/4 teaspoon active dry yeast
- 8 ounces ripe sourdough starter, straight from fridge
- 2-2 1/4 cups (10-11.25 ounces) all purpose flour, plus a few extra tablespoons as needed for kneading
- 1+1/2 teaspoons salt
- Dissolve yeast in water and let sit for 5 minutes.
- Stir in sourdough starter and mix until nearly dissolved.
- Stir in flour and salt and mix until a shaggy dough forms.
- Turn out onto a lightly floured surface and knead for about 8-10 minutes until a soft ball of dough is formed that bounces back when lightly poked. Add flour one tablespoon at a time if dough becomes too sticky (like bubblegum) when kneading. Final texture should be just slightly tacky, soft,and supple. It should hold its own shape when held in the palm of your hand.
- Place in a lightly greased bowl and cover with a moist towel and place in a warm place to rise until doubled – about 2 hours.
- Grease an 8in x 5in (or thereabouts) loaf pan. Set aside.
- Turn dough out onto a lightly floured work surface. Roll dough out into a rough rectangle (about 12in x 8in) and shape into a sandwich loaf folding the dough like a trifold letter using the short sides. Then fold the dough letter in half length wise. Pinch edges together and then pinch the ends together.
- Place seam side down in greased loaf pan, cover with a moist towel and let proof for about 1.5 hours or until dough is even with top of pan. Alternatively, stick in the fridge for 6-8 hours or overnight and let rise slowly. Either way works well. If choosing the fridge route, remove bread from fridge and let come to room temperature before proceeding.
- Preheat oven to 450F.
- Fill a oven safe cup or bowl about half way with water. Place in oven – this will help with a good crust. If you prefer a softer crust, skip this step.
- Slash the top of the bread with a serrated knife (about 3 times). Place bread in preheated oven and bake for 10 minutes. Reduce temperature to 400F and continue baking for another 30 minutes.
- Bake until golden brown on top and the sound is hollow when the bread is tapped on the bottom.
- Remove the bread from the pan and let cool on wire rack.
- Slice and enjoy!
p.s. if bread baking looks and taste like it is gonna be your new hobby – do yourself a favor and buy a digital kitchen scale. Life moves much faster and more accurately with one. I use this one for everything from chocolate chip cookies to the bread seen above or ya know when you wonder what a serving of almonds actually looks like which come to find out it is much less than one might imagine.
Happy baking friends!
